Batch #7 in my notebook is labeled “vinegar wine — do not repeat.” I’d been brewing regular kombucha for six months, felt confident, and decided to try making it hard. What came out tasted nothing like the crisp, boozy kombucha I’d imagined. After dozens of batches since then, I’ve figured out what actually works — and more importantly, why.
Hard kombucha sits in a fascinating space between traditional kombucha and craft beer. While regular kombucha contains only trace alcohol (0.5–1% ABV), hard kombucha pushes that to beer-level strength. The secret is understanding that you’re orchestrating two distinct fermentation stages, each with its own microbial cast of characters.
Understanding the Two-Stage Fermentation Process
You can’t skip the first fermentation and jump straight to high alcohol. The SCOBY needs to establish the foundational acids and flavor compounds that make kombucha taste like kombucha — not just alcoholic sweet tea.
During first fermentation, your SCOBY’s Acetobacter bacteria convert ethanol into acetic acid — which actually works against your goal of higher alcohol. This is why we keep the first stage short. The yeasts in your SCOBY (Saccharomyces and Brettanomyces) produce some alcohol naturally, but they’re limited by available sugar and the bacteria constantly converting their output to acid.
According to peer-reviewed research on kombucha fermentation (NIH), this bacterial-yeast balance creates kombucha’s distinctive tangy profile. For hard kombucha, we tip the scales in the second stage by introducing a dedicated alcohol-producing yeast.
Equipment You’ll Need Beyond Regular Kombucha Brewing
Regular kombucha needs just a jar and cloth cover. Hard kombucha demands more precision:
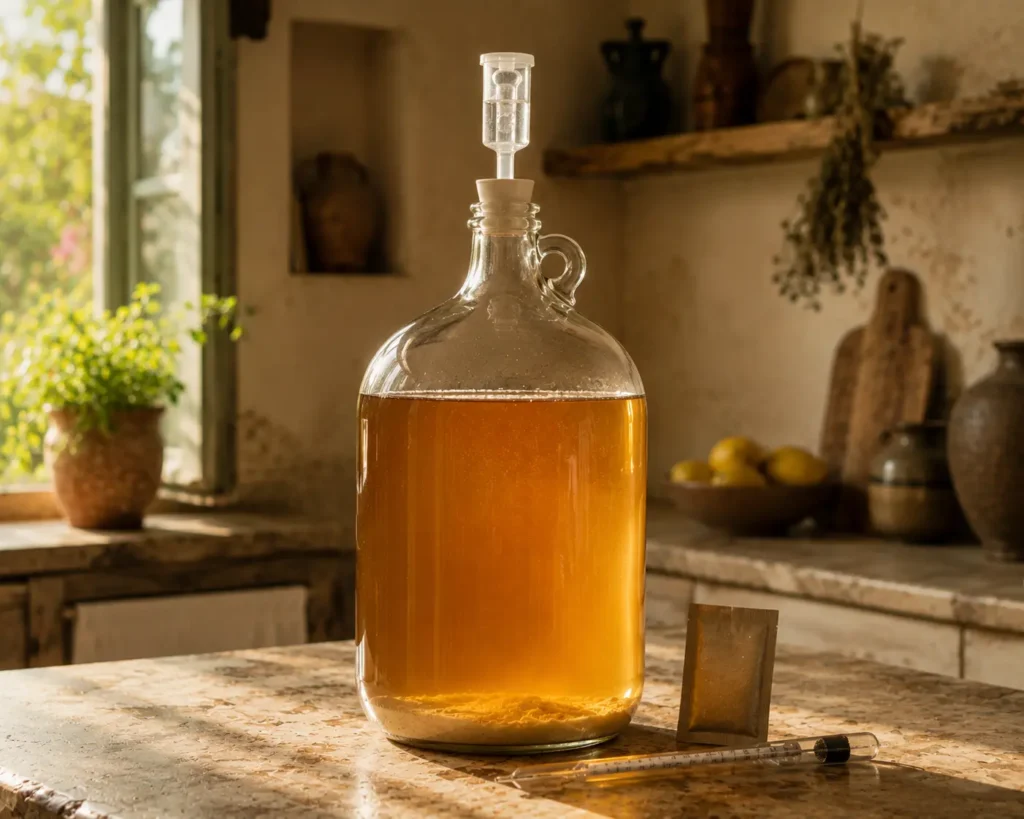
- Airlocks and rubber stoppers — lets CO2 escape while blocking oxygen and contaminants. Without this, Acetobacter will convert your hard-earned alcohol straight into vinegar.
- Glass carboys or fermentation jugs — narrow-necked one-gallon glass carboys reduce oxygen exposure during secondary fermentation.
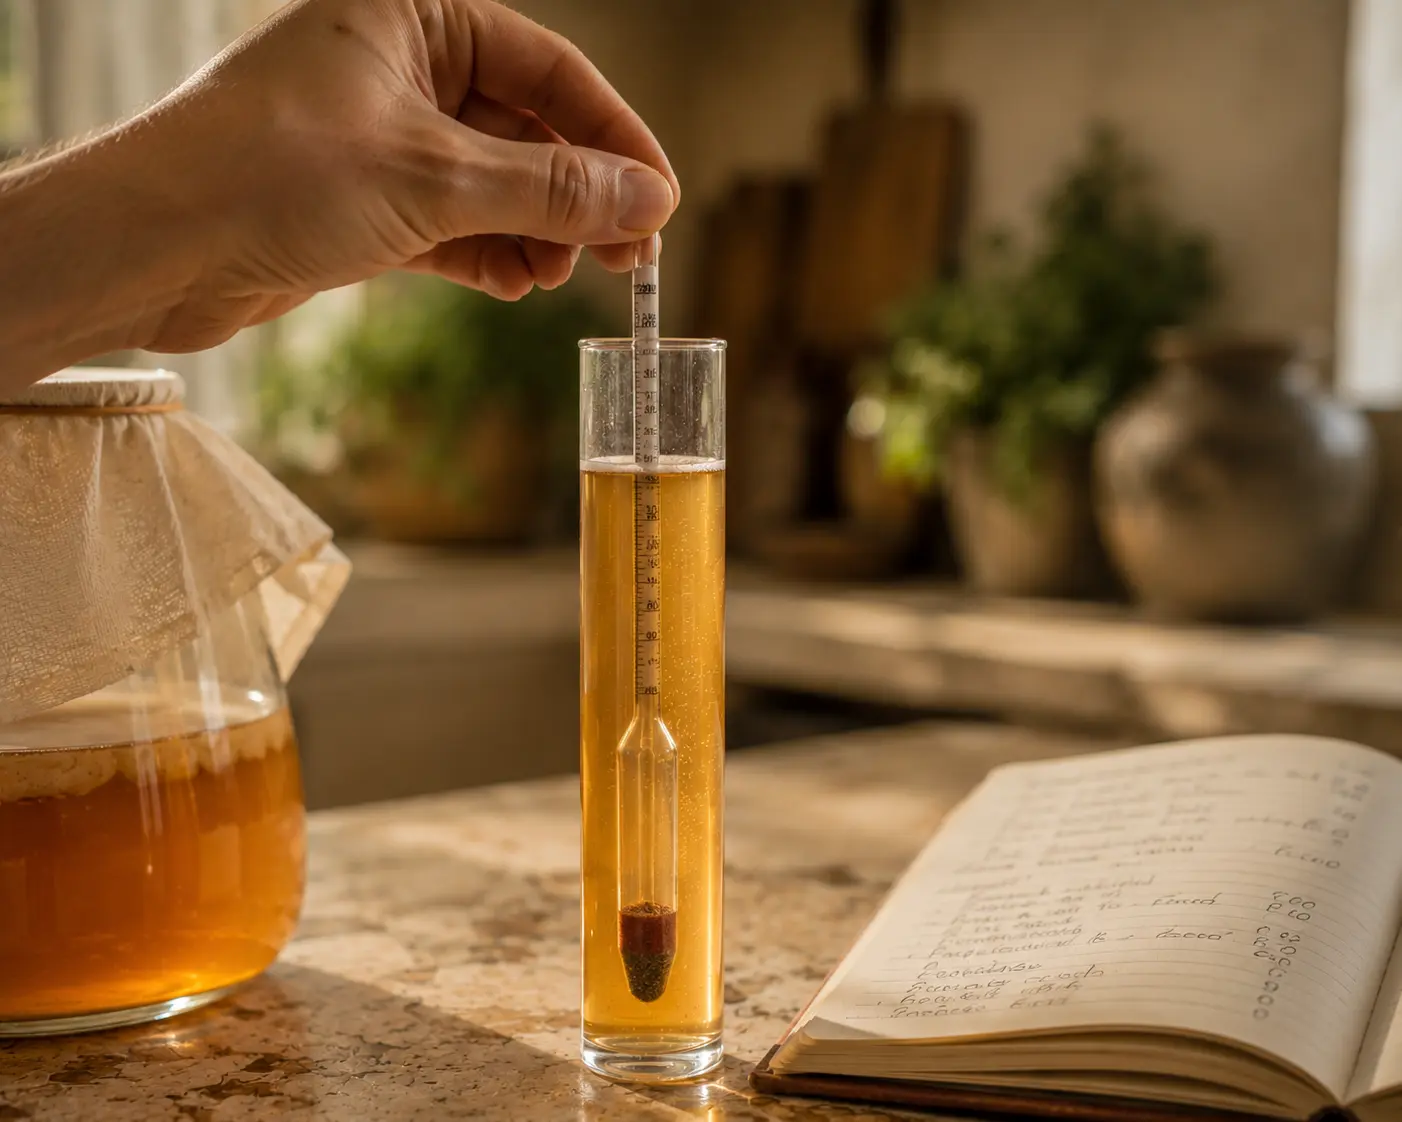
- Hydrometer — not essential but invaluable for tracking alcohol content. About $10 and worth every cent.
- Champagne or wine yeast — Lalvin EC-1118 is the standard. SCOBY yeasts alone won’t get you to beer-strength alcohol.
- Thermometer — temperature control matters more here than in regular brewing.
- Pressure-rated swing-top bottles — standard kombucha bottles work, but verify they’re rated for carbonation pressure.
Step-by-Step: First Fermentation (The Kombucha Base)
The goal here is a shorter-than-usual first fermentation that preserves residual sugar for the alcohol-producing stage. If you already know how to brew kombucha, you’ll recognize these steps — but the timing is different.
Brew your sweet tea base as normal: 8 tea bags and 1 cup of sugar per gallon of water. Cool completely to room temperature before adding your SCOBY and 1–2 cups of starter liquid. Cover with cloth and ferment for 5–7 days at 72–78°F (22–26°C) — shorter than the typical 7–14 days for drinking kombucha.
At this stage you want the liquid tart but still noticeably sweet — like a slightly funky sweet tea. I taste-test around day 5 and look for a pH around 3.0–3.3. Too acidic means insufficient residual sugar; not acidic enough risks contamination during secondary fermentation. For more on managing your first fermentation, see my guide on how alcohol develops during kombucha fermentation.
Step-by-Step: Secondary Fermentation (Creating the Alcohol)
Remove your SCOBY and reserve 2 cups of fermented kombucha for your next batch. Pour the remaining kombucha into a sanitized carboy, leaving 2–3 inches of headspace.
My standard addition per gallon:
- ½ to ¾ cup additional sugar (depending on target alcohol level)
- ¼ teaspoon champagne yeast (Lalvin EC-1118)
- ½ teaspoon yeast nutrient (optional but helps prevent stalling)
Dissolve sugar in a small amount of warm water, cool it, then add to your kombucha. Sprinkle yeast on top. Insert the airlock (filled halfway with water) and place somewhere stable between 68–75°F (20–24°C). You should see airlock activity within 24 hours — peak bubbling around days 3–5, roughly one bubble every 10–15 seconds.
According to a scientific review of kombucha’s active compounds (PubMed), the interaction between kombucha’s existing organic acids and newly introduced yeast creates a flavor profile that straight beer or wine fermentation simply can’t replicate.
Monitoring and Controlling Alcohol Content
Alcohol content depends primarily on how much sugar you add and how completely fermentation finishes. Yeast converts sugar to alcohol at roughly 50% efficiency — so 1 cup of sugar (around 200g) per gallon can theoretically yield 5–6% ABV if fermented dry.
In practice across my batches:
- ½ cup added sugar → approximately 3–4% ABV (session strength)
- ¾ cup added sugar → approximately 5–6% ABV (standard hard kombucha)
- 1 cup added sugar → approximately 6–7% ABV (strong)
Take hydrometer readings every 3–4 days. When specific gravity stops dropping across two consecutive readings (usually around 1.000–1.005), fermentation is complete. Warmer temps 75–78°F (24–26°C) ferment faster and drier; cooler temps 68–70°F (20–21°C) go slower and often leave pleasant residual sweetness.
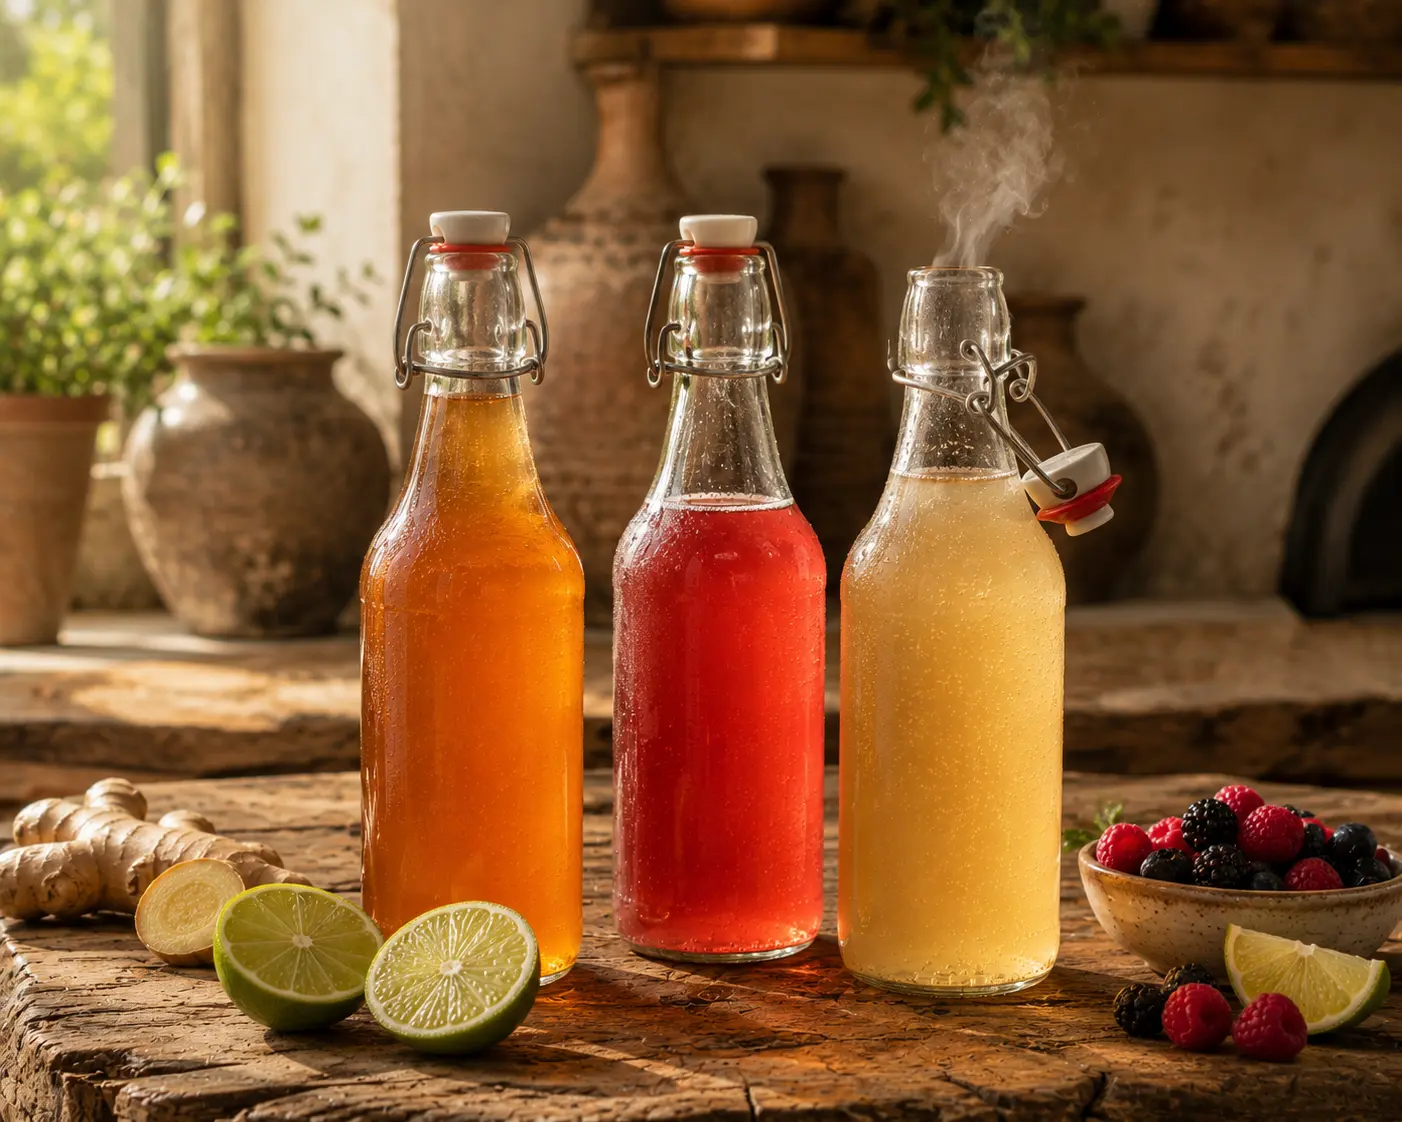
Flavoring Your Hard Kombucha
Add flavoring after secondary fermentation is complete, just before bottling. Any sugar from fruit additions will continue fermenting in the bottle — which creates carbonation but can also create dangerous pressure if you’re not careful.
My favorite additions per gallon:
- Ginger-lime: 2 tablespoons fresh grated ginger, juice of 2 limes
- Berry blend: 1 cup mixed berry puree (raspberries, blackberries, blueberries)
- Tropical: ½ cup pineapple juice, ¼ cup mango puree, splash of lime
- Dry-hopped: ¼ oz Citra or Mosaic hops steeped 3–4 days
Let flavored kombucha sit 2–3 days in the carboy with the airlock still attached before bottling. This lets fruit sugars ferment in a controlled environment rather than building pressure inside sealed bottles. If you’re new to flavoring fermented drinks, my kombucha flavors guide covers the best fruit and herb combinations in detail.
Bottling and Carbonation
Use heavy-duty swing-top or capped beer bottles. Fill leaving about 1 inch of headspace. For extra carbonation, add ½ teaspoon of sugar per 16 oz bottle before filling — though residual sugars usually provide enough naturally.
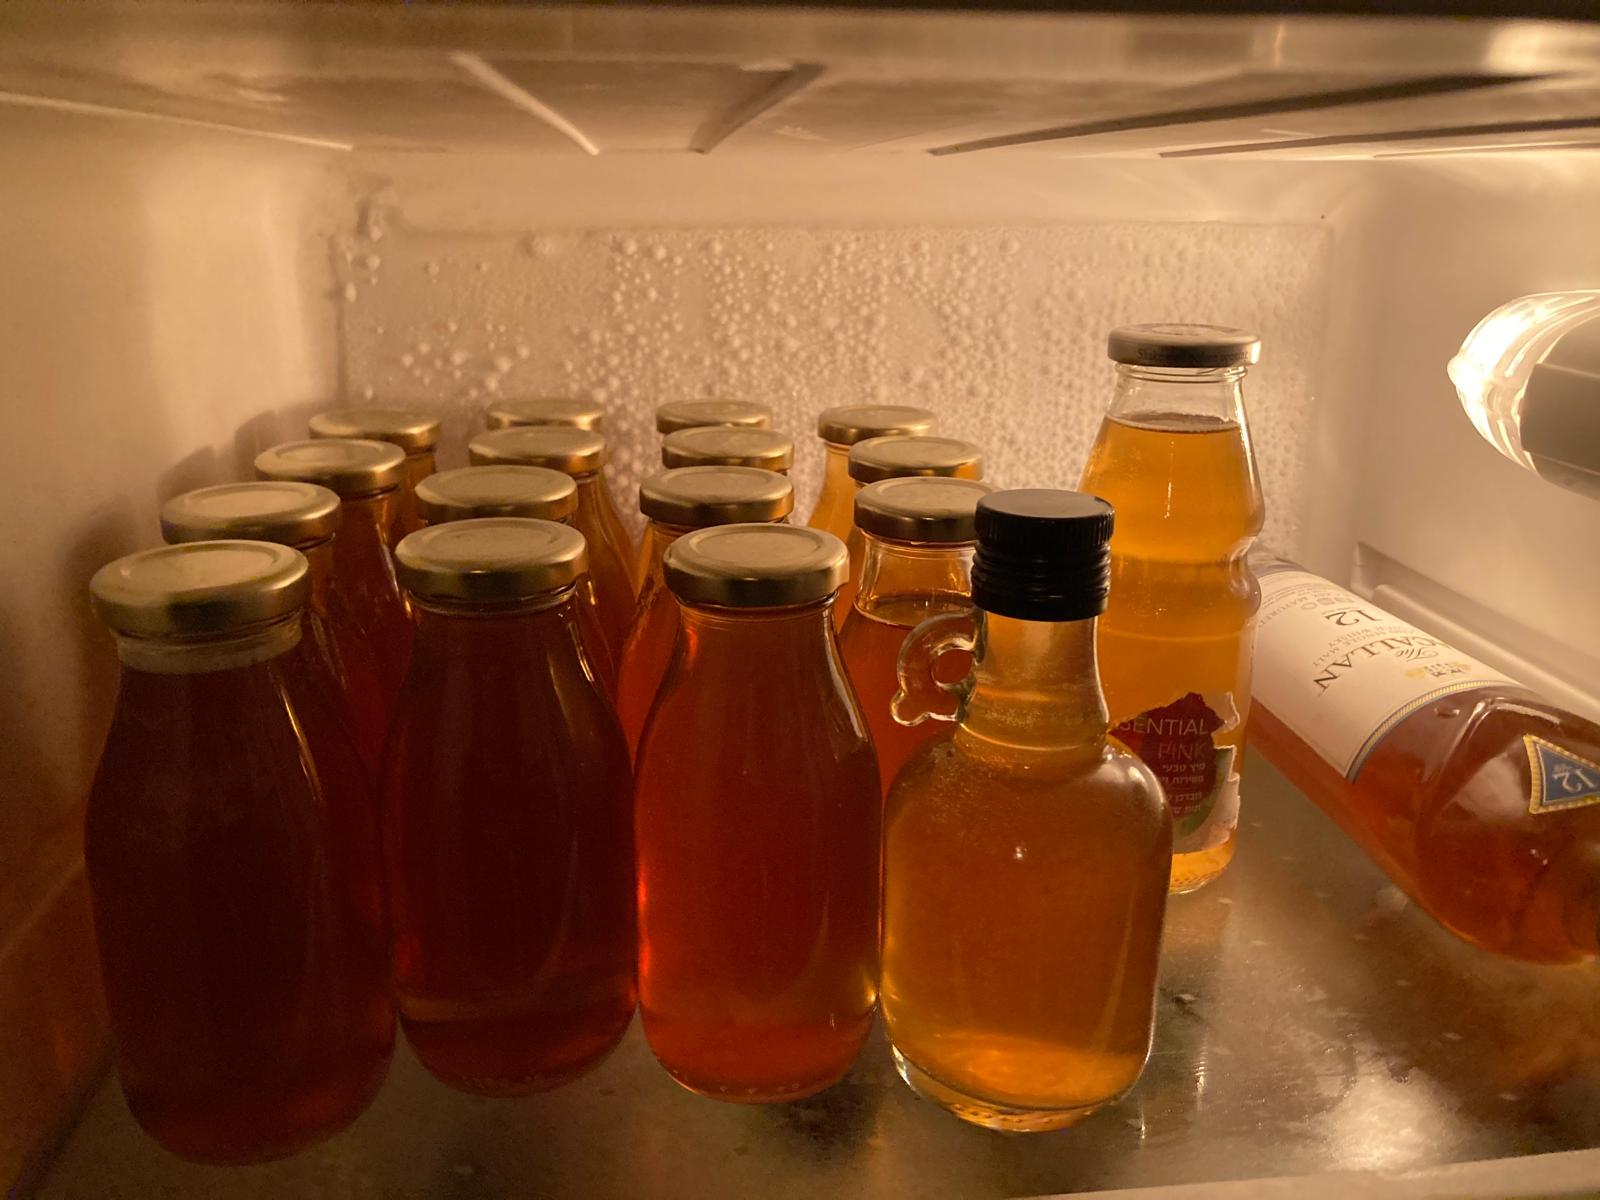
Leave at room temperature 65–72°F (18–22°C) for 3–7 days. Burp bottles daily by carefully cracking them open to release pressure — this prevents bottle bombs and lets you gauge carbonation. Once you’re happy with the fizz, refrigerate immediately. Cold stops fermentation and locks in carbonation.
Flavor mellows noticeably after two weeks refrigerated. That raw alcohol edge softens and everything integrates. Hard kombucha keeps well for 2–3 months refrigerated without meaningful quality loss — the alcohol and low pH create an inhospitable environment for spoilage organisms.
Troubleshooting Common Problems
Secondary fermentation won’t start: If the airlock isn’t bubbling after 48 hours, your yeast may be dead or the kombucha too acidic (below pH 3.0). Add a pinch more yeast and ¼ teaspoon of baking soda to raise pH slightly.
Too vinegary/acidic: First fermentation ran too long and acetic acid bacteria consumed too much alcohol before you moved to secondary. Fix for next batch: keep first fermentation to 5–7 days maximum.
Off flavors or sulfur smell: Contamination or stressed yeast. Ensure all equipment is properly sanitized and add yeast nutrient to your next batch.
Too dry: Fermentation went completely dry. Either stop earlier (gravity around 1.005–1.010) by refrigerating, or back-sweeten with a non-fermentable sweetener like erythritol.
Fermentation stalled too sweet: Rouse yeast by gently swirling the carboy, check temperature is at least 68°F (20°C), and wait a few more days. If truly stuck, add another ⅛ teaspoon of yeast.
Safety Considerations
You’re producing real alcohol — treat it accordingly. In the United States, you can legally brew up to 100 gallons per adult per household for personal consumption without a license. You cannot sell it without proper licensing.
Always use pressure-rated bottles. A thin glass bottle exploding during carbonation is not a minor inconvenience — it’s a genuine hazard. Store carbonating bottles away from living spaces, ideally with a towel over them during the first few days.
And be honest with yourself about what you’re drinking. A well-made 6% hard kombucha is a beer. Drive and drink accordingly.
Is Home Brewing Worth It?
Hard kombucha costs roughly $3–5 per gallon to brew at home versus $8–12 per 16 oz bottle at retail. Per serving that’s under $0.60 versus $8–12 commercially. After an initial equipment investment of around $75, the savings compound quickly across batches.
Beyond cost, there’s creative control. You dial in exactly the alcohol level, sweetness, and flavor profile you want. As Healthline’s guide to kombucha SCOBY notes, maintaining your own culture creates a unique microbial signature — your hard kombucha literally tastes like no one else’s.
Frequently Asked Questions
Q: Can I use my regular kombucha SCOBY to make hard kombucha?
A: Yes — your SCOBY creates the kombucha base in first fermentation, but you still need to add champagne yeast during secondary to reach beer-level alcohol. The wild yeasts in a typical SCOBY can’t reliably hit 4–7% ABV on their own. Just reserve some first-fermentation kombucha (before adding extra yeast) to keep your SCOBY healthy for future regular batches.
Q: How long does it take start to finish?
A: Expect 14–21 days total: 5–7 days first fermentation, 7–14 days secondary, plus 3–7 days bottle conditioning. Add 2–3 days if you’re doing fruit flavoring. Warmer temperatures 75–78°F (24–26°C) compress the timeline; cooler temps 68–70°F (20–21°C) extend it but often produce smoother results. Rushing secondary fermentation leaves a harsh alcohol edge that needs time to mellow.
Q: What’s the maximum alcohol content achievable?
A: Practically, 7–8% ABV is the ceiling while maintaining actual kombucha character. Champagne yeasts can theoretically reach 14–18% ABV, but at those levels you’ve made wine — the delicate kombucha flavors get completely overwhelmed. The sweet spot is 4–7% ABV where you get pleasant alcohol warmth without drowning the funk and tartness that make hard kombucha worth making.
Q: Do I need to pasteurize before bottling?
A: No. The alcohol content combined with low pH (2.5–3.5) prevents harmful bacteria from surviving. Commercial producers sometimes pasteurize for consistency, but this kills all live cultures. Unpasteurized hard kombucha refrigerated after bottling continues developing flavor slowly over weeks — which is a feature, not a bug. If you want to stop fermentation completely without heat, cold-crash at 34–38°F (1–3°C).
Q: Can hard kombucha go bad or make you sick?
A: It’s remarkably stable. The combination of alcohol and acidity makes it hostile to pathogens. Actual spoilage signs to watch for: fuzzy colored mold on the surface (not a SCOBY pellicle), rotten egg sulfur smell, or a viscous slimy texture. If you see mold during first fermentation, discard everything including the SCOBY. If it just tastes too vinegary or harsh after secondary — that’s unpleasant, not unsafe. Trust your nose: if it smells like kombucha (even stronger or funkier than intended), it’s almost certainly fine to drink.
Hard kombucha is more complex than regular kombucha but more forgiving than beer brewing, and the results are genuinely unique — you can’t buy anything quite like a well-made home batch. Start simple, take notes, and don’t be discouraged if your first attempt resembles my batch #7. You’ll get there.
Home kombucha brewer based in Tel Aviv with 6+ years of experience and 500+ batches brewed. I started Kommbucha.com because the information online was scattered or just plain wrong — I wanted advice from someone who actually brews. My kombucha is sold at local Tel Aviv coffee shops and been gifted many times in Detroit, Michigan .