
So you’ve nailed your first fermentation — your kombucha is tart, alive, and smells like something genuinely worth drinking. Now comes the part that separates a flat, slightly sour tea from a fizzy, flavour-packed brew that people actually get excited about. The kombucha second fermentation — often called F2 or 2F — is where the magic really happens, and it’s the step I look forward to most after 500+ batches.
What Exactly Is Kombucha Second Fermentation?
Think of F1 (primary fermentation) as building the foundation and F2 as decorating the house. During primary fermentation, the SCOBY infuses your brew with probiotics, organic acids, and carbon dioxide — but that first fermentation produces kombucha that is both sweet and sour, not fizzy. That’s totally normal, and it’s not a problem to fix — it’s a feature to build on.
The secondary fermentation stage is done in an anaerobic environment — without air — accomplished by bottling your finished kombucha in airtight bottles. That one shift, from open vessel to sealed bottle, changes everything. Carbonation is created during the second fermentation by infusing kombucha with additional ingredients and letting it continue to ferment in a tightly sealed bottle. The microbes keep feeding on sugar and creating carbon dioxide, which is trapped in the bottle — producing that fizz when you open it.
And flavour? Simultaneously, your flavouring ingredients infuse the kombucha while the beneficial bacteria continue their work at a slower pace. You get two processes in one beautiful step.
The Science Behind the Fizz (Simplified)
Here’s the mechanism worth understanding, because once you get it, troubleshooting becomes intuitive. The SCOBY converts sugar to alcohol via yeast fermentation, and then bacteria convert that alcohol into acetic acid. In F2, you’re leaning on the yeast side of that equation — adding a fresh sugar source (fruit, juice, or plain sugar) that the residual yeast in your bottled kombucha can feast on.
The fruit you add to the bottle acts as a new sugar source for the bacteria and yeast to feed on. With nowhere to escape (sealed bottle, remember), the CO₂ produced dissolves under pressure into the liquid. Open the cap, the pressure drops, and out come the bubbles. This is exactly the same physics as a bottle of sparkling wine — just with living cultures doing the work instead of added CO₂.
There’s also an antimicrobial dimension worth knowing about. Kombucha produces acetic acid during fermentation, which may suppress harmful bacteria like E. coli and Salmonella typhi while preserving beneficial probiotic bacteria. That low-pH environment is part of why home-brewed kombucha is a fairly safe ferment — the acid keeps the bad guys out. It’s also why understanding the full brewing process matters before jumping into F2.
What You’ll Need for Second Fermentation
Equipment is simple, but the details matter — especially bottle choice.
- Swing-top (Grolsch-style) glass bottles — 500 ml (16 oz) is the most practical size. They’re pressure-rated and easy to burp.
- A funnel and pitcher for mess-free bottling
- Your flavouring ingredients — more on these below
- A pH strip or meter — optional but useful to confirm your F1 finished between pH 2.5–3.5
- A clean cloth or paper towel to wipe bottle tops before sealing
Avoid thin-walled beer bottles for anything longer than a day at room temperature — the pressure build-up is real. Especially for inexperienced brewers, fermenting in glass can become dangerous: the ability to build pressure in a vessel is what creates the fizz, but unsuitable containers can crack, break, or even explode if the contents ferment at room temperature for too long.
Choosing Your Flavours: What Works Best
This is where brewing genuinely becomes creative. The world of kombucha flavours is enormous, but a few principles keep you out of trouble.
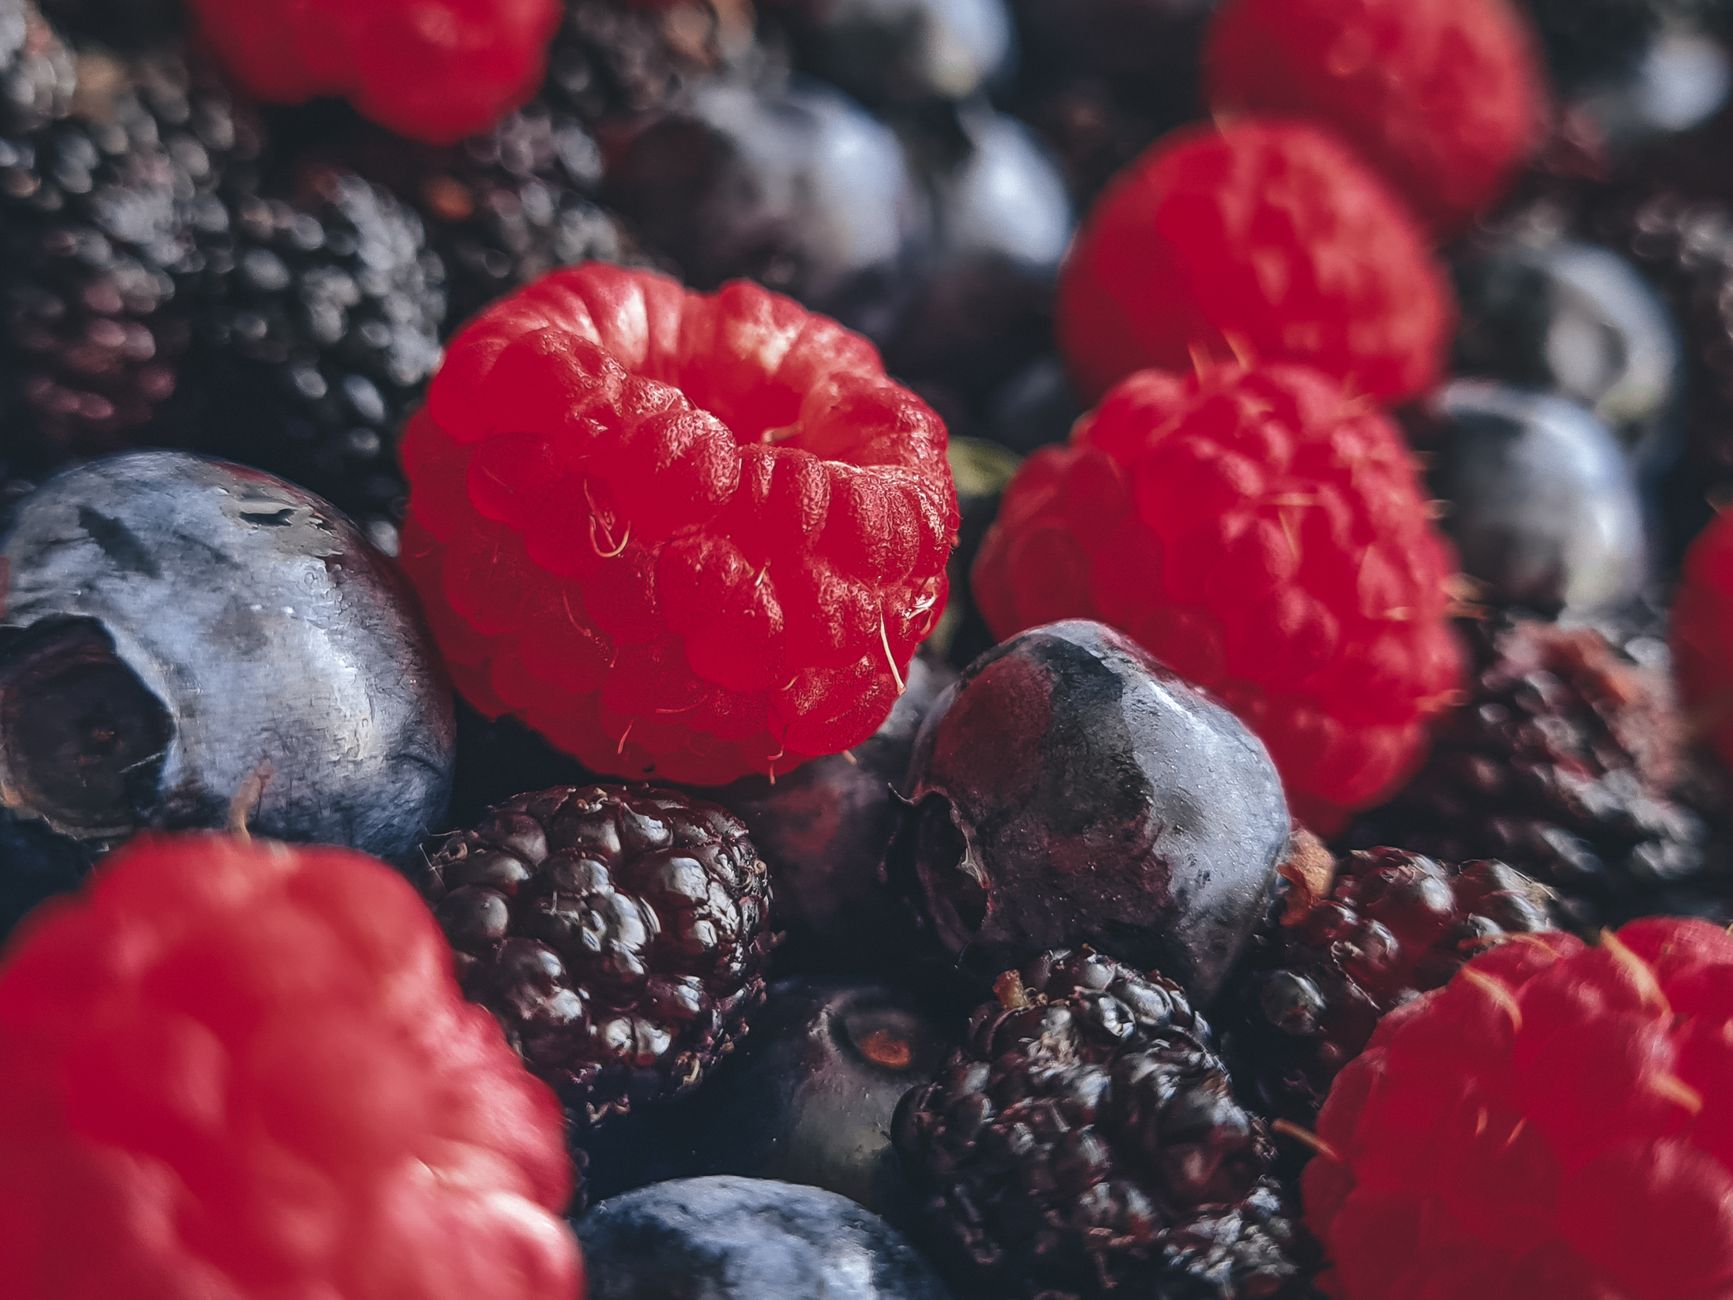
Fruit works especially well because it contains natural sugars that boost carbonation. For stronger carbonation, use puréed fruit or juice — the more accessible sugar the yeast can consume, the more fizz you’ll get.
If you remember one rule for your second fermentation additions, make it this: add fresh ingredients. Fruits, vegetables, herbs, and extracts are best. Do not add artificial flavourings or oils — they can stop your kombucha from carbonating altogether.
Research also hints at a bonus: adding spices like clove and cinnamon during second fermentation has been shown to increase antioxidant concentration, and combining kombucha with spices shows promising results for improving both flavour and nutritional properties.
Step-by-Step: How to Do Kombucha Second Fermentation
- Confirm your F1 is done. Taste it — it should be tart with a hint of sweetness and a pH around 3.0–3.5. If it’s still very sweet, give it more time.
- Add your flavourings first. Put fruit, juice, or spices directly into your clean swing-top bottles before adding the kombucha.
- Bottle your kombucha. Pour the kombucha into your bottles, leaving ½–1 inch (1–2.5 cm) of headspace at the top of each. That gap matters — it gives the CO₂ somewhere to collect.
- Seal tightly and ferment at room temperature. The ideal range for second fermentation is generally 20–24°C (68–75°F). Warmer speeds up carbonation; cooler slows it down.
- Burp daily. Let the bottles sit at room temperature and open each one briefly each day to release pressure so it doesn’t get too fizzy, then reseal and let it continue.
- Taste-test after 2 days. Chill one bottle thoroughly before opening — the cold keeps the carbon dioxide in the liquid, so it’s less likely to fizz over and make a mess.
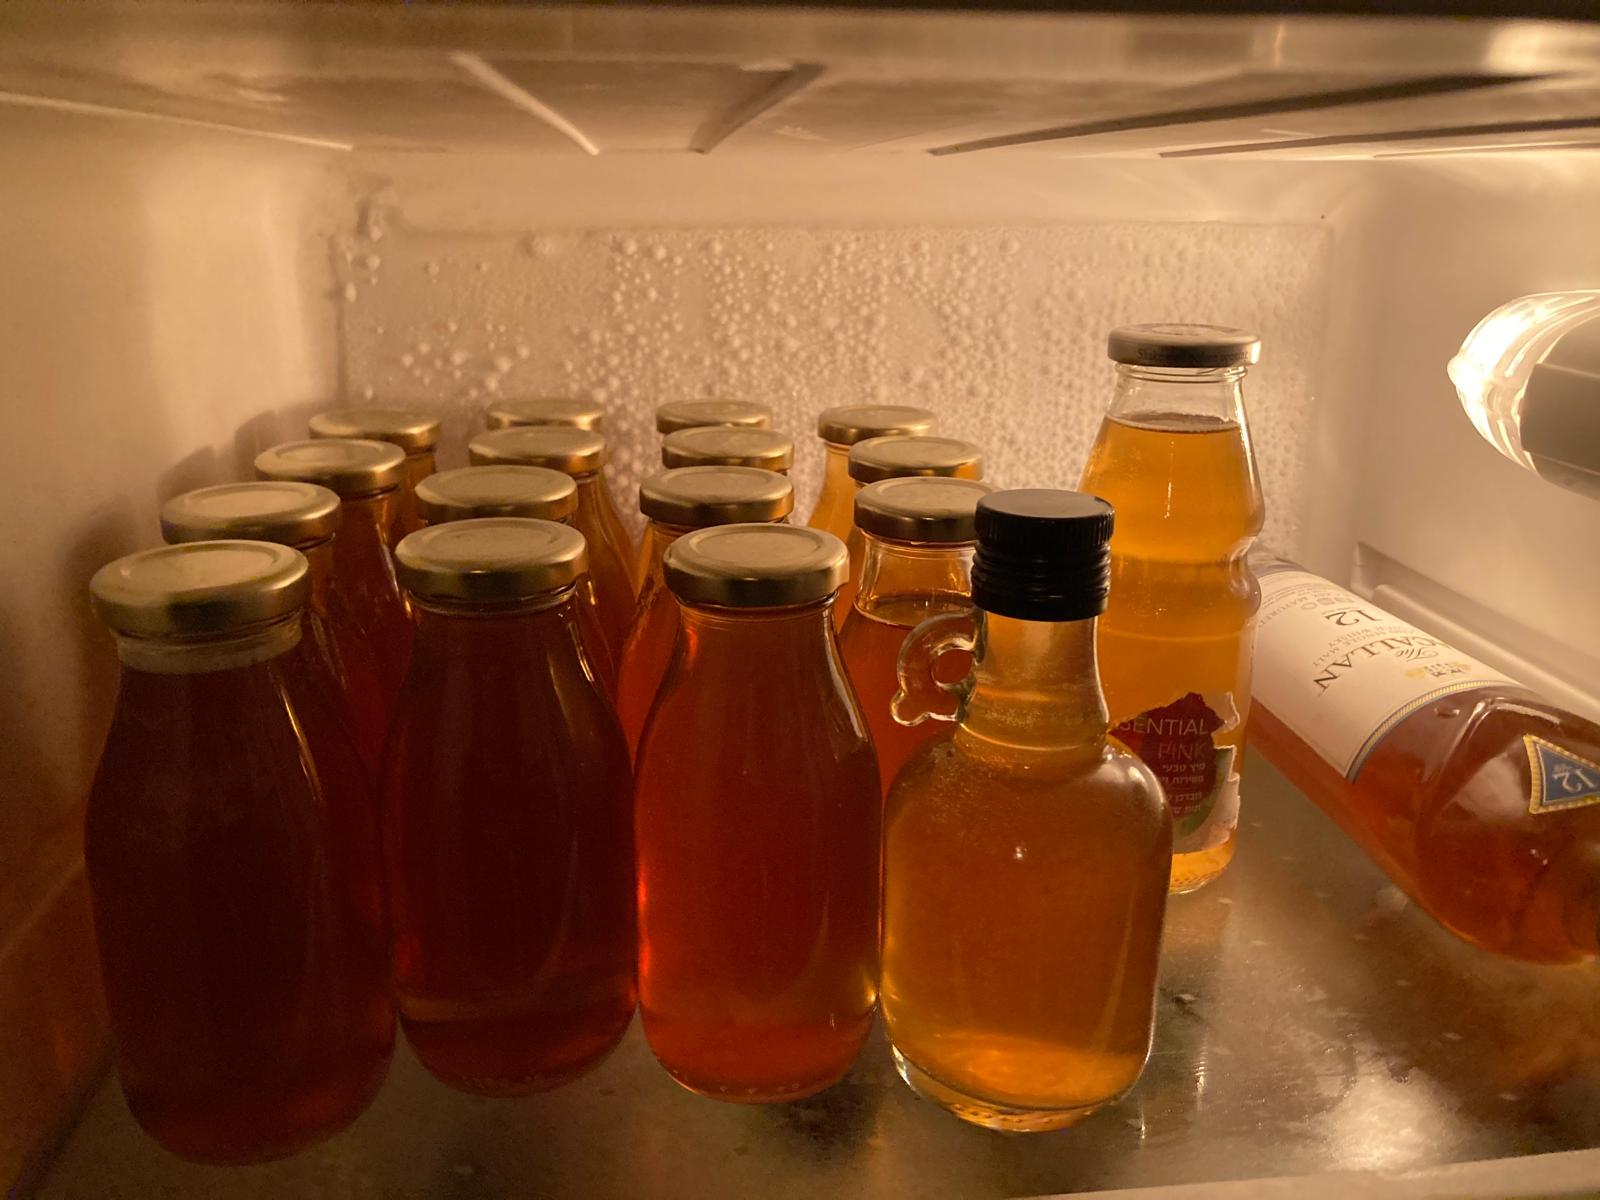
- Refrigerate when ready. Once the carbonation and flavour are where you want them, refrigerate the bottles to slow further fermentation.
Timing: How Long Does Second Fermentation Take?
Second fermentation typically takes 2–4 days, but it can take longer. In Tel Aviv’s summer heat, my F2 is often done in 36–48 hours — the 28–30°C (82–86°F) ambient temperature speeds things right up. In winter, the same batch can take 4–5 days.
Batch 312 is one I remember clearly. I’d used a blueberry-ginger combo with a fairly tart base (pH 2.8 at bottling). By day two, one bottle had already built serious pressure. I opened it over the sink for the taste test and got a proper geyser. Lesson learned — burp more aggressively in summer, and always open chilled bottles slowly over the sink.
Some flavours get perfectly fizzy in 3 days, while others need a full week before reaching the carbonation level you want. It depends — temperature, flavourings, bottle type, and other factors all affect the timing. Keep notes. Seriously, it’s the single best habit a home brewer can build.
Safety Tips — Don’t Skip These
Second fermentation is safe and fun, but pressure is real pressure. A few non-negotiables:
- Use pressure-rated glass bottles only. Purpose-built swing-tops are your safest bet.
- Don’t overfill with sugar or fruit. Too much sugar means too much carbonation, which can cause a bottle to explode.
- Store bottles somewhere safe during F2 — a closed cupboard, not an open shelf where they could fall or spray a mess.
- Monitor pH. If the pH climbs above 4.2 during fermentation, too little acid is being produced and safety drops; use pH strips to verify your kombucha stays in the safe acidic range.
- Always burp daily — especially in warm weather. Over-fermenting leads to overly carbonated and potentially explosive bottles.
Troubleshooting Common F2 Problems
Flat kombucha after F2? Your kombucha may have been too acidic at bottling (too little residual sugar for the yeast to feed on), your temperature may be too cool, or the bottles weren’t sealed properly. Try adding a small amount of plain cane sugar — about 1 teaspoon per 500 ml — alongside your fruit next time. The extra sugar feeds the yeast and drives carbonation, which is especially helpful when your kombucha is already quite tart.
Too much fizz / overflow? Reduce fermentation time, keep temperatures cooler, use less fruit purée, and burp more frequently. Use 10–20% flavouring to 80–90% kombucha as your baseline ratio — that’s a solid starting point for most fruit additions.
Weird taste? Sanitise everything before bottling. A clean environment is paramount at every stage, including F2 — make sure the bottles and equipment you use for transferring or flavouring are properly sanitised to prevent mould or unwanted bacteria from spoiling your brew.
For a full walkthrough of the whole process from sweet tea to finished brew, our complete home brewing guide covers every step.
Does Second Fermentation Affect Health Benefits?
It’s a reasonable question, and the science here is worth being straight about. During second fermentation, many of the yeasts and bacteria responsible for kombucha’s beneficial compounds remain in the liquid even after the SCOBY has been removed, and they keep working anaerobically — so the end product can carry more of those beneficial byproducts.
A small amount of research suggests kombucha may offer benefits similar to probiotic supplements, and some studies point to support for immune function and digestion. That said, although several studies report antimicrobial, antioxidant, and liver-protective activity, there’s still a lack of solid scientific evidence about kombucha’s probiotic content and its real role in the gut microbiota. So enjoy it for what it demonstrably is — a delicious, living fermented drink — and don’t oversell the health claims. The evidence-based breakdown from Healthline gives a fair summary of where the science actually stands.
What is clear is that the flavour ingredients you add in F2 can bring genuine nutritional benefits of their own. Adding nutritious fruits and herbs is one of the more obvious upsides, and fermentation also makes foods easier to digest — so you may get even more out of those added ingredients than you would eating them raw.
Explore more ideas for what to put in your bottles in our kombucha flavours guide, and browse all our home brewing resources for the full picture.
Q: How do I know when second fermentation is done?
A: There’s no single timer — it’s a combination of taste and feel. After 2 days at room temperature, chill one bottle fully in the fridge, then open it slowly to test carbonation and taste. If it’s fizzy enough and the flavour has developed to your liking, refrigerate all the bottles to halt further fermentation. If it’s still flat, return the bottles to room temperature for another day and retest. Your senses are the most reliable tool here, and keeping notes on each batch means you’ll get faster at reading the signs over time.
Q: Can I do a second fermentation without adding fruit or sugar?
A: Yes — if your primary fermentation finished before consuming all the residual sugars, there may be enough left for carbonation. That said, results are less predictable. If your F1 ran long and your kombucha is very tart (pH below 2.8), the yeast won’t have much left to feed on and you’ll likely end up with a flat bottle. Adding even a small amount of plain sugar — around 1 teaspoon per 500 ml bottle — is an easy insurance policy for reliable fizz without adding any fruit flavour.
Q: What’s the safest bottle to use for second fermentation?
A: Swing-top (Grolsch-style) glass bottles designed for brewing are your best bet. They’re pressure-rated, easy to burp daily, and reusable for hundreds of batches. Avoid thin-walled beer bottles, regular mason jars with standard lids, or any bottle not designed to handle carbonation pressure. Plastic PET bottles — the kind used for commercial kombucha — are actually useful as a pressure gauge: when the bottle feels firm like a soda bottle, you know carbonation has built up well.
Q: Why is my second fermentation kombucha too vinegary?
A: Over-fermentation is almost always the cause. If your F1 base was already quite tart and you then let F2 run too long at a warm temperature, the acetic acid bacteria keep converting alcohol into acetic acid — giving you something closer to kombucha vinegar than a refreshing drink. Fix it by shortening your F2 window, refrigerating earlier, and ensuring your F1 finished at a pH between 3.0–3.5 before bottling. A slightly sweeter F1 base also gives you more buffer during F2.
Q: Can I reuse swing-top bottles for every batch?
A: Absolutely, and they’ll last for years if you treat them well. Rinse immediately after use, clean thoroughly with hot water and a bottle brush (avoid soap residue, which can affect your culture), and replace the rubber gasket seals every 6–12 months or if they start looking worn or cracked. A cracked or loose gasket is the most common reason bottles fail to carbonate — the CO₂ simply leaks out rather than building pressure in the liquid. Keep a few spare gaskets on hand and your bottles will serve hundreds of batches reliably.
Home kombucha brewer based in Tel Aviv with 6+ years of experience and 500+ batches brewed. I started Kommbucha.com because the information online was scattered or just plain wrong — I wanted advice from someone who actually brews. My kombucha is sold at local Tel Aviv coffee shops and been gifted many times in Detroit, Michigan .